Showing posts with label class routines. Show all posts

Monday, September 25, 2017

Practicing Responsibility

We don't really teach responsibility, we practice by being responsible through our daily routines.
When the children first walk into the room, they pick up their name card and put it on the pocketchart.  As a way to check-in that "I'm here!"
Students are practicing moving row by row, completing one row before starting a new row and moving left to right as we establish this habit for reading.
Each day they return their behavior folder in the tote, and  practice spine on the left, name on the folder shows at the top, and placing the folder in neatly.
Another daily routine to check-in is to mark their lunch choice.  They look at the choices for lunch purchase and select their colored clip or the clip that indicates they brought their own lunch.

Occassionally, I'll verbally remind as I ask, "Did you pickup your name card?"  The students respond "check."  This helps those who may have forgotten.

This is a cute story about responsibility.  Chores help children practice completion of tasks.
  
Stories and sentences stating "I can" is powerful to encourage self-esteem for students who think they can't.


These two easy readers can help with echo reading statements that "I can."

Using sight words, writing what can be called the Kindergarten Motto.  I CAN TRY!
Helping the children find success, gives them the chance to say "I can."  Even as simply as being the card holder, whether they can read the word or not, they can show how to be an important part in the activity.

Keeping it simple and high expectations...they can.
The more they practice right, the better they will get!
 Hand-in-hand we grow!

Monday, August 7, 2017

Let's Listen

Let's Listen.
Kathleen from Kidpeopleclassroom has a Teacher book talk on Tuesdays this summer.  Check it out!  
 http://www.kidpeopleclassroom.com/2017/08/giveaway-week-one.html
Besides the book talk, Kathleen has many great ideas to share.  
Thank you, Kathleen for this link.

So Let's Listen:

 One of my favorite stories to read at the beginning of the year is, The Listening Walk by Paul Showers.
This is a story about a girl who takes walks with her father without talking so she can listen to the sounds around her.  As they walk through the city to their park they hear various levels of sounds loud to soft.
After reading the story, it is a wonderful experience to just take a walk with your class.  If you can go outside, listen to the crickets, the jets overhead and car sounds.  If you need to stay inside then walk the halls, listen for the hum of the lights, the sounds of footsteps and doors opening and closing.  Sometimes I stop during our walk and put my hand to my ear so the kids could focus on a sound....'We do not talk.'
When returning to the class, make a chart of all the sounds.  Then as a writing opportunity, the students can write/draw "I heard..."
 
Our children (and us) are exposed to too much noise most days.  It takes concentration to filter out sounds.  Many times because of technology (phones, tvs and toys), they have already learned to 'tune-out' but what we want them to be able to do it to 'sort out' and pay attention--peripheral hearing. 
This also could help when identifying the loud and soft sounds to connect it to their voice levels.  
We practice making our voices louder and softer.  I use my hand to demonstrate a loud voice with my horizontal hand over the top of my head and gradually bring it down to below my chin.  As we make our voices loud (my hand high), I point out the strain in our throats.  As I bring my hand at my chin level, I point out how much calmer and easier it is to talk and hear.  I tell them that this level is an inside voice level.  
Sometimes when the noise level is getting too much in the classroom, I have the children FREEZE and we change our volume control.  Give your ears and throats a rest, I say.

For my personal reading recommendation, escape reading, Have you read any Jojo Moyes books?
Before school begins, this Thursday I am finishing The Horse Dancer.
I get started on an author and read all that my public library has.  Thank you to my mentor kindergarten teacher and friend, Shey Kravas for getting me started this summer on this author.  I have sat on my front porch and escaped......

So until next time..
Janet


Friday, November 4, 2016

Five for Friday November 4, 2016

.

Thank you Kasey at Doodle Bugs for linky party this week.
 .


My colleague Pam Cochran has shared a 'lesson' on coloring that she did with her kindergarteners.  
We have found that they need specific of guidance and a rubric to understand what they should be striving to do.
 We put this on a large chart tablet so they can refer to it while they work.

The more they practice RIGHT, the better they will get.


 .
 It is still pumpkin harvest time these first early days of November.  
The students traced or wrote their numbers in the pumpkins. (Differentiated lesson) 
Then they learned a partner game.  One player rolls a die and counts out the number of counters (Pumpkin erasers, candy corn or uses a bingo dobber) to cover the pumpkins in number order.  The game ends when the first player to cover-up all their numbers.
We knew these needed lots of review this week as they worked out their sugar highs from Halloween Monday.   

  
More review of matching letters.  I selected the letters that were most missed when checking letter recognition.  Students remove a letter from the pumpkin on the left and matched it to their paper.  Students could also trace the letter with a marker or use a bingo dobber.  Then place the plastic letter in the bowl on the right.  (Reinforcing the left to right habit.)
The next step is writing letter pairs and saying the letter name while they are writing.  
We have found that repetitive writing of the letter pairs whether in alphabetical order and/or as shown above, helps the students learn the letters and sticks in their memory.  It has also greatly improved their ability to write the letters.


 .
For the past few years, I have asked the children to bring in their candy wrappers and we have sorted and graphed the various kinds.
Thanks to Dr. Jean to remind and extend this to more sorting.  It inspired me to write up a list of activities.
The day after Halloween I sent home a note in a baggie requesting empty candy wrappers.  I specifically asked them to cut the end rather than tear it.  They need MORE cutting practice anyway.


They sorted the wrappers.  I found a bit more control sending one row (table, group) at a time prevented a chaotic scramble.
I taped 26 pages on the chalkboard and labeled with the alphabet.  Students took turns getting a wrapper and finding the page to tape their wrapper on.  It was clear who could and could not identify the beginning letter of the words.
The next activity was to make SETS of candy wrappers.  Again, row by row, (table or group of 5 at a time) picked up a wrapper and decided where they were adding theirs.  As each group came, it was becoming more challenging to make sure not "too many" or "not enough" on each set page. I was excited when the students used the math vocabulary words we've identified as they described each page during our conclusion.


Woohoo....CUBS win............by the way!

Monday, October 24, 2016

Show and Tell

Show and Tell time is still an active weekly activity in my class.  In my early years teaching, I struggled how to organize this.
During sessions with C.L.A.S.S. (Connecting Learning Assures Successful Students, education-creating successful schools with collaboration skills, brain research and character education out of Carmel, Indiana), I learned during 'circle time' to allow the students to lead their talk without any adult comments. I rarely talk except to offer a topic idea or to move-it-along. I avoid judgement statements such as, 'that's nice'  or  even asking questions. 
There are many approaches to Show and Tell such as, setting a theme for the weekly focus, free choice, color, beginning sounds, etc.  I've tried them all. 


Image result for teddy bear
 
The first time we do a show and tell, the children are allowed to bring in a teddy bear for our Teddy Bear Fun Friday in early September.  The children can practice at home what they want to tell us about their bear.  Its name, where they got it, where do they keep him and so on.  I  have a tub of extra bear friends in case they don't have a bear or forgot.  The bear then gets to spend the day with the child during activities and specials. 
After that the rule is NO TOYS or stuffed animals.  I want to keep it away from, "Oh, I have that." and keep it focused on what the child wants to share to tell.
A few years, we tried changing the name of our time to "Sharing" but it was confused with bringing something for everyone to have (like a snack).
Back to Show and Tell.
Our class sits in a circle and each week a new child is designated as the one to go first.  

The child stands. If they brought something, they hold it in front of their tummy.  When they are finished, they turn left to right and we clap as they sit down.  Clapping is how we tell each speaker, thank you. Clapping also gives a movement break that some need to be an active listener again.   When it is not their turn, the item is kept behind their backs with their hands in their lap.
I insist on:
  • Active listening - hands in their laps and looking at the speaker
  • No talking unless it is your turn
  • EVERYONE has a turn to show and tell or just TELL
  •  When the speaker is finished they are to chose the next person, they tell the person next to them " __(name)__, it is your turn."  
  • If they don't know the person's name, they are to ask, "what is your name?" (it still amazes me that throughout the year some need to continue to ask)
  • There is NO PASSING.  I tried the opting out, but soon it became a habit and a few never took a turn.  So now EVERYONE has a turn.  
  • IF they don't bring something, they can TELL whatever they want.  For some children, I offer a few suggestions, to tell about what they did last night, their favorite food, color, pets, what they like to play...
  • We are patient to a point trying to move the time along.  I don't seem to have to wait too long anymore, they just get it.

When everyone has had their turn, I now allow the children 3-4 minutes (I set the timer) to mingle.  This is the time they can get a closer look at something, or to ask something more of the presenter.  This has become a favorite of mine to watch them sincerely show an interest and ask questions.  It is refreshing to see how they beam as they show still some more.
They are learning how to SOCIALIZE in an appropriate way.

 I send a note to the families explaining the who, what, when, where, how and why we do our Show and Tell.
It includes:


Purpose:  To use language speaking skills, to speak in full sentences, to speak clearly, to build self-confidence, to explain or describe an item or event.

PRACTICE: being able to answer questions about who, what, where, when, how and why.  Stand in front of a mirror to “show” the item brought.

Ideas for show and tell:
·        Photographs (limit 2)
·        Things collected from nature
·        Crafts
·        Pictures they drew or colored
·        Book (be able to tell the name of the book, and what it’s about briefly)
·        One or two items from a special “collection”
*Items must fit in their school bag and classroom mailbox.
Student will hold items to show.  They will not be passed around the class.  When finished all items will be returned to their mailbox to take home.
Be sure to wrap or bag any breakable items.  (Be responsible with breakable items)
NO toys or stuffed animals, weapons, live animals (a photo or drawing or book about a pet is appropriate)

It takes about 20 minutes (for 25 students) and is so worth it!  

Establishing a routine helps give the students  
 structure.
  
After 4 weeks, my children can practically do it themselves.  

I say,  "Try it, you might like it!" 


Thursday, July 14, 2016

IT'S ALL IN THE NAME

As the song goes, 'where everybody knows your name'.... When people know our names it makes us feel special.
Learning how to read and write their names (and the names of their family and classmates) is a big-kid growing up skill for kindergarteners.  
Here are some ideas how to begin:

Recognizing your name

Show a name card and sing/chant:
"Whose name is this? 
Who can it be?
Whose name is this?
Please look and see."

When the child recognizes their name, they come get their card.
If he has trouble you can give a hint:  "It begins with a M."
Tell the sound of the first letter.  "It begins with /m/."
Usually someone in the class knows the name so you can allow for a helper to tell. Sometimes just look at the child, smile and nod.  This gives them the 'release' that they are correct, it is their name. 
When the student comes up to get their name card, help point out "This is your name." and slowly run fingers under name and stretch out sounds.

Practice recognizing name written with Capital + lowercase and in All Capitals.

Outside Sidewalk Chalk game
Write the names of students on the playground or sidewalk.  Have the students run to find their name.  Give each child their own piece of chalk and they can copy their name again. 

Letter Name Hop
Use letter carpet squares or make letter mats from rubberized shelf liners.  Place the letters of students' names on the floor.  Classmates line up and hop on each letter saying the name of each letter for their friends' names.  At the end say the whole name as they jump off.  Do two names at a time so class needs to make two lines.  When students finish each name, they go to the end of the next line.  Setting up two names helps the activity move along.  Change the names as often to keep the activity interesting.

Morning Routine Name Pick Up
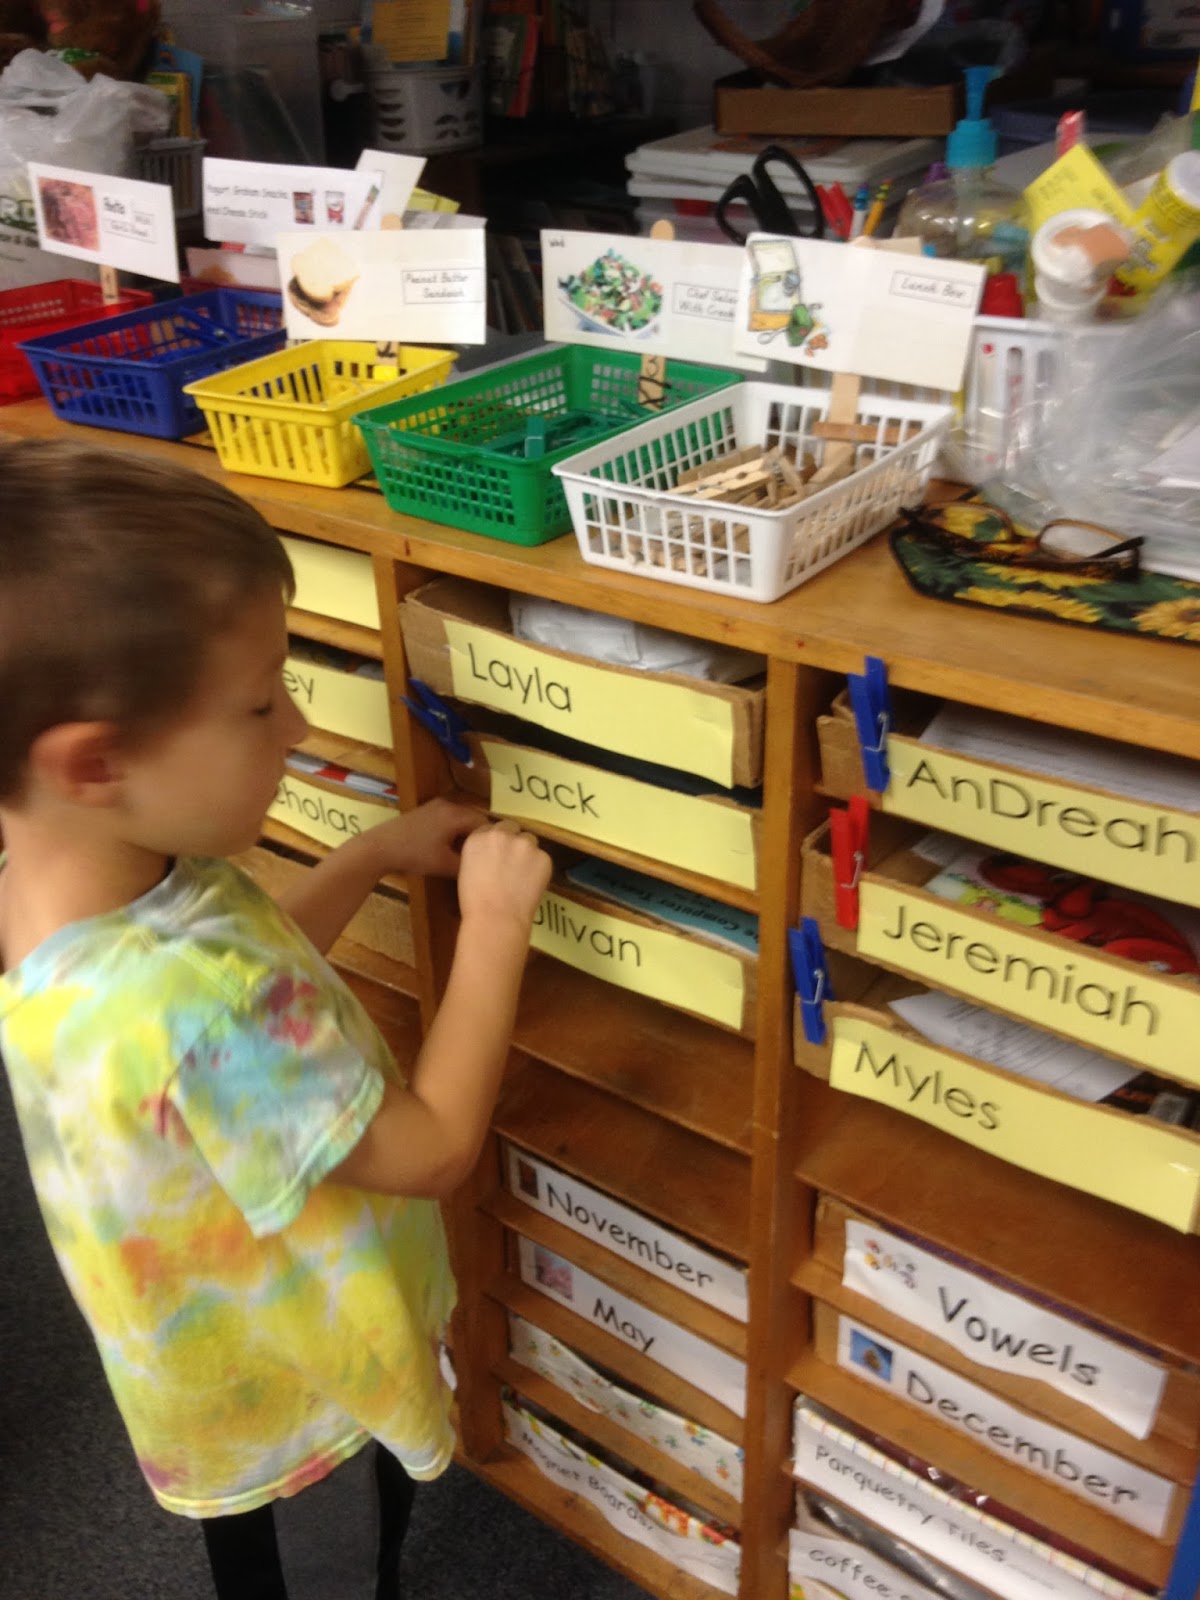
Each morning throughout the year, as the students come in, they pick up their name cards and put them on the pocketchart to 'check-in' for attendance.  Any names left on the floor when school begins, are held up for all to read.  Those children  are absent or forgot to pick up their names.
When the names are put on the pocketchart, we are practicing left to right and row by row order (which is developing our reading habit).


Sing/Chant letters in name
Pick a melody to sing  the letters of our name.    "h-a-i- l-e-y    that spells Hailey"

Cheer for you
Have students select their classmates to hold the letters of their name.
Kathy's name has five letters so Kathy should pick 5 friends.  Give Kathy large letter cards for her name.  She will give each friend a letter card (in or out of order).  Kathy needs to make sure they are in the correct order.  (Hint: letter on front of the card is Large for classmates to see but also put a smaller size letter on the back so the 'friend' can see and know the letter card they are holding)
Class cheers/calls out....K-a-t-h-y.  Hooray for Kathy!

The Writings on the Wall
Hang chart paper or craft paper on the wall in classroom or in the hall.  Write the names of students on the paper.  Students can find their name and copy their name again and again.  Writing on a vertical surface is sometimes easier for young children verses bending at the neck.  Write on chalkboard or large whiteboard.  (I suggest to families to practice writing on the bathtub wall during bathtime.  Lather up with soap and write in the slippery suds.)
 
Name Hats
Cut out class names printed in 200 font size.  Students should glue name onto a sentence strip (beginning on the LEFT side).  Students can decorate the rest of the sentence strip with their favorite shapes, pictures, or make a pattern.  Measure the sentence strip around the child's head and staple for a name hat. The name hat can be worn for special teachers during the first few weeks and later use for substitute teachers.  I keep the name hats in a large gift bag.  Subs can read the name as they pull out the hats to give to the students.  This helps the connection of the names to their faces.  It makes the kids feel special too.


Rainbow Writing Names
Type each student's name in large grey shaded print so the students can trace over the letters.  The students can select 3 colors.
Trace all letters with first color, saying the name of each letter while tracing.
Trace all letters with second color, saying the name of each letter while tracing.
Trace all letters with third color, saying the name of each letter while tracing.

(There are so many variations of pages available on TeachersPayTeachers that are more ways to trace students names.)

 All Letters Count
Write names in 1-inch squared grid paper.  Cut out the names as a strip.
Give students their name and have them count how many letters there are.
Ask for names with 2-letters, then 3-letters, etc. 
Put the names on a chart showing all the names with the same number of letters.
Whose name has the least/fewest number of letters?
How many names have the same number of letters?
How many names have 3 letters, 4 letters?
Whose name(s) has the most letters?   

Dry Erase Boards
Children love to use dry erase boards.  They like using a marker on the smooth surface.  If you make a mistake it is easy to erase and try again.
Plastic plates are a fun alternative to a flat board.  Write on the bottom for an easier angle.

Shaving Cream Writing
Squirt shaving cream on tabletop and have students use their writing hand to spread it out and use pointer finger to practice writing their name.  Children love the feel and it makes your room smell a bit fresher.  They can practice making shapes, squiggles, and numbers too.

Who has your name?
Write the names of half of your class on pieces of paper.  Pin a name on the backs of the other half of your class.  Students find the person that has their name pinned on their backs.  This could be their line buddy or partner for another activity.

Build Names with Letter Tiles  -  Letter Blocks
Write name on card and have students find the letter tiles to match.
Students copy letters saying name of each letter.

Keyboard Letters
Print out a copy of a keyboard and have the students find and color the keys to match their name.
Have the students practice writing/copying their name Capital first letter + lowercase AND in all Capitals.

* It is important to practice letters in two forms.  Capital and lowercase, All Capital since keyboards have only the capital font.  Sometimes this is very confusing for young children.
*Involving a group or class with calling out other students' name and letters has the extra benefit of learning letters out of order and 'reading'. 

Writing students' names on helper charts encourages them to recognize their own name and begin reading the names of their classmates.

Stories and Songs
Students LOVE to hear their own names and their classmates names in stories and songs.
Throughout the school year, make an effort to find a story for each child's name in your class.  If necessary, read a story that you don't have to show the words, and substitute some of the name variations that you might have in your class, just so they can hear their special name.

The more you practice (right)
The better we get!